Last night we were at Pike’s for the Team In Training inspiration dinner. The marathon starts tomorrow at 8 AM with Andrea running it, and me driving around trying to make sure she’s got what she needs out on the course. The weather doesn’t look great (occasional rain in the morning, scattered showers in the afternoon, high 50°F), but snow isn’t in the forecast, so that’s a plus.
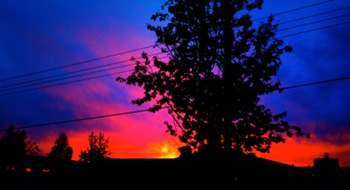
While I waited outside for Andrea to finish cleaning up and chatting with other racers, I snapped some iPhone photos of the sunset over the Chena River. The image on the right is another Toy Camera shot (probably “High Saturation”) and the image below is an unaltered panorama taken from the boat ramp.
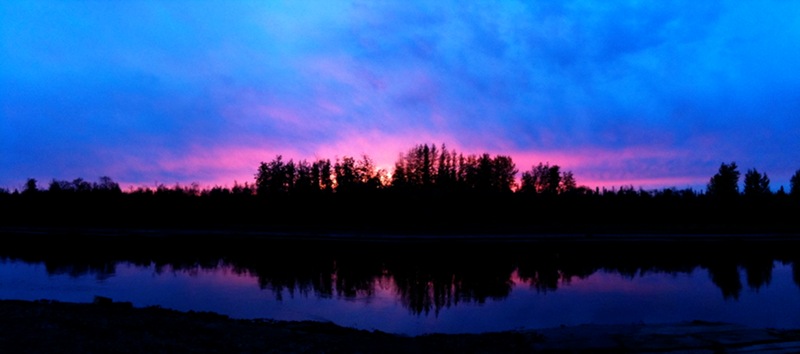
Sunset, Chena River
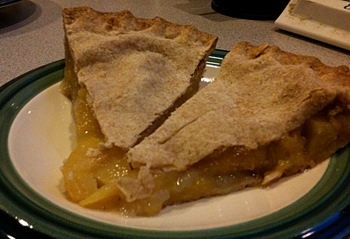
Peach pie
We just finished watching Pushing Daisies on Blu-Ray (alas, it got cancelled after two seasons). It’s a show made for the format with super-saturated colors and a very stylish look that really sparkles on a high definition television. The main character of the show is a pie-maker and seeing all the great pies on the show triggered an interest in making pies as something more than the occasional apple pie for a potluck or baking a pumpkin pie for Thanksgiving. So, at least for now, I’m making pies on the weekend.
Pie number one was a double-crust peach pie. The peaches were a little under-ripe, and I think the filling had too much almond extract in it, but it was still really good. The crust is a very simple butter crust (½ cup butter, 1 2/3 cup flour, 5 T ice water for a double-crust or 1/3 cup butter, 1 cup flour, 3 T ice water for a single crust), with 40% whole wheat flour. I’ve also started using chilled vodka for some of the ice water. According to Cook’s Illustrated it acts as enough of a binding liquid to allow you to shape the dough, but when it bakes the alcohol evaporates, leaving a drier and flakier crust than if you’d used water.
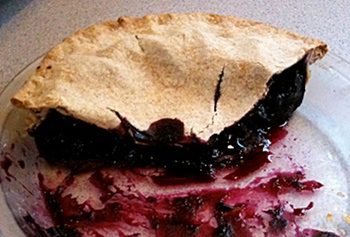
Blueberry / cranberry pie
Pie number two didn’t quite come out as expected because I wasn’t able to get the quantity of blueberries that the recipe called for, and I mis-calculated the difference between a 9” and 9 ½” deep dish pie plate. I wound up adding a sliced peach and apple to the top of the filling so I’d have enough fruit to fill the pie, but either I didn’t add enough cornstarch for the additional fruit or I didn’t bake it long enough so it’s a bit runny. It tastes great, though (I mean, pie, right?). The cranberries are actually lowbush cranberry (sometimes called lingonberry), which isn’t quite the same thing as the berry most people buy in the supermarket around Winter Solstice, but they do offer a nice tartness and red color to the purple-blue sweetness of blueberries. And they’re local, from the Farmer’s Market.
Another Toy Camera photo. It’s a shot down our driveway from the red cabin.
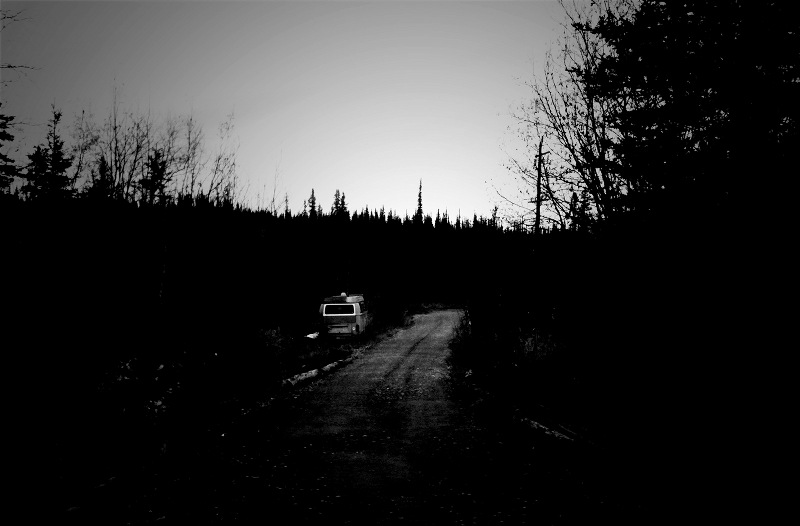
Having a camera attached to the iPhone really is an amazing thing. Inasmuch as I carry the thing with me most places, that means I have a camera most of the time. The first shot is of the sunrise I saw this morning riding my bicycle in to work (using the Pano app to make a panorama).
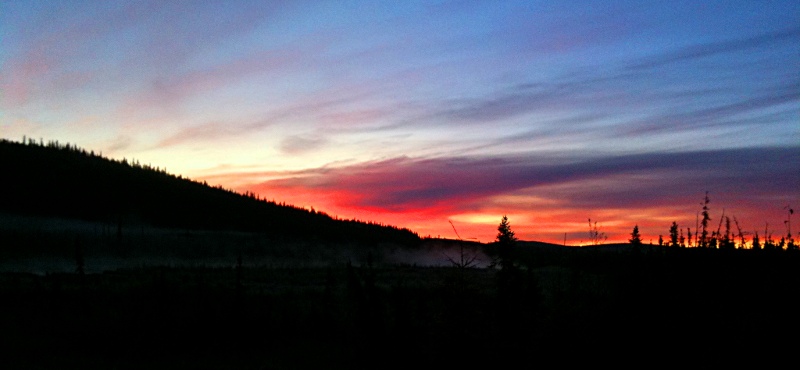
Sunrise over the peat ponds
This is a shot of the coffee table we’ve got under the west window. It’s an underutilized spot, but the presence of the window and the Monitor heater next to it means there’s not a lot we can do with it. I used the Toy Camera app to take this shot, which takes a photo and then applies some sort of filter to the image. I’m not sure what filter was used here, but I like the way it looks. Vintagey.
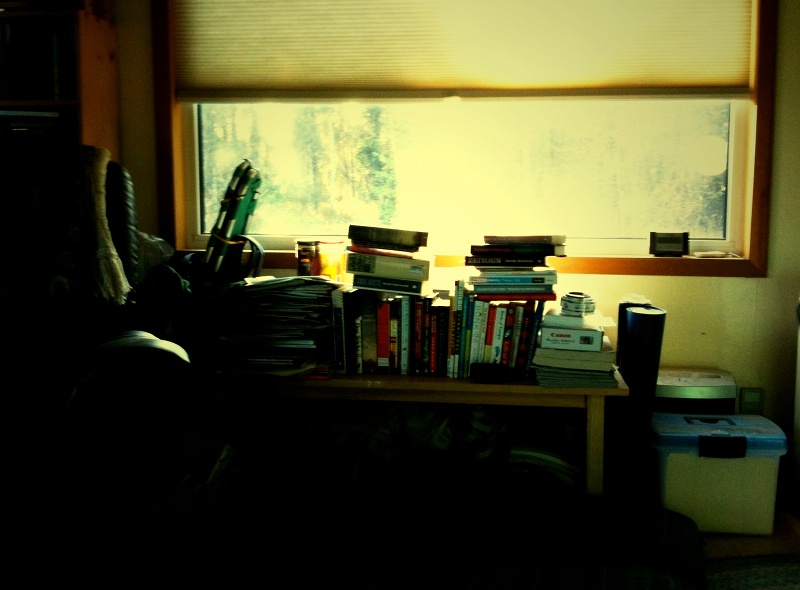
Books by the west window
Another gorgeous day in Fairbanks. September is one of my favorite months. The bugs are just about gone, it’s cold and crisp in the morning, and there’s usually an abundance of sun and blue skies. This year has been no exception so far, making it hard to stay in the house. I’ve been out on several excellent walks with the dogs on the trails around our house.
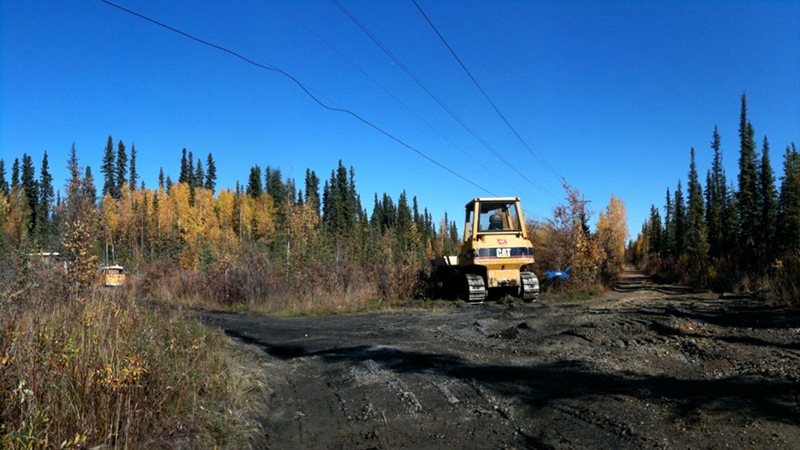
We’re also in the process of getting our road and driveway fixed. We’ve been living here for two years, and both have deteriorated since we moved in. The road is a tough one because so much water runs over it during spring breakup, and I’ve been told that no matter what you put on the road, it will just wash away in a few years.
Still, we had to do something, so we changed the pattern a bit this year, installing a culvert in a particularly bad place, and filling one of the deep spots with very large rocks instead of mine tailings. The hope is that they won’t get carried away in the spring flooding, and may drain well enough that water will cross there instead of running down the road. Time will tell, but at the very least, it should be a much nicer drive this winter, and will be a lot easier for me to keep it plowed.
One of the common destinations on my walks is this pond, on the property next to us. This is the same pond that I photographed and wrote about last April when I went ice skating on it. Once the Creek freezes, I like to walk upstream to this pond, cross it, and return home on the mushing trails. It’s a nice spot.
