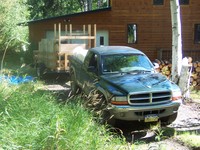
The first load, at our old house
med lg full |
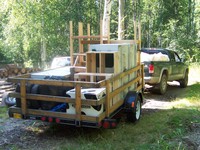
Another view of the first load
med lg full |
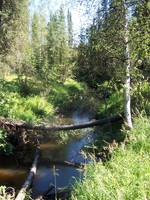
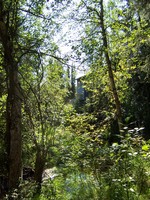
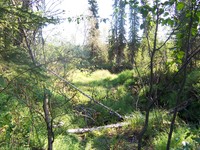
Looking upstream Goldstream Creek from the bridge
med lg full |
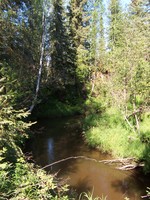
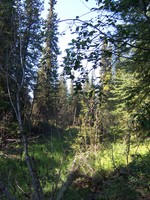
Looking downstream from the bridge, back cabin
med lg full |
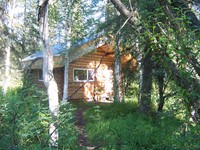
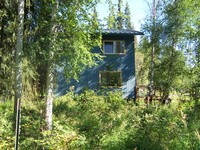
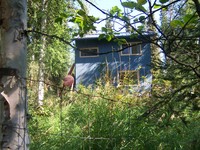
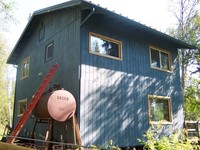
The back cabin
med lg full |
Goldstream Valley from the back cabin
med lg full |
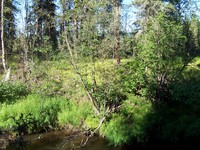
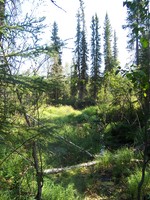
Goldstream Creek from behind the back cabin
med lg full |
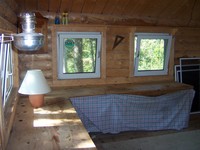
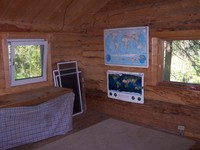
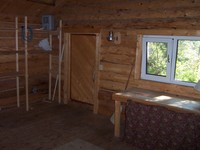
The inside of the back cabin, left of the door
med lg full |
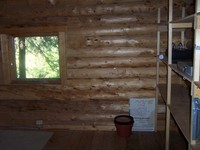
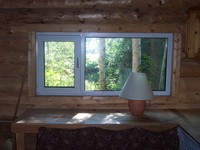
The inside of the back cabin
med lg full |
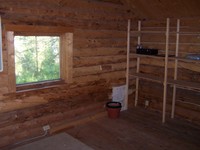
The inside of the back cabin
med lg full |
The inside of the back cabin
med lg full |
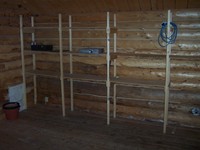
Shelving inside the back cabin
med lg full |
The back cabin’s door
med lg full |
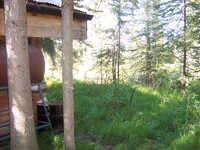
View toward the house from inside the back cabin
med lg full |
Goldstream Creek and the house from the back cabin
med lg full |
The west side of the house
med lg full |
Looking south into the slough
med lg full |
Looking north (toward the Creek) into the slough
med lg full |
Looking south into the slough
med lg full |
The west side of the house from the slough
med lg full |
The northwest corner of the house
med lg full |
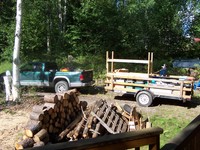
The second load, at our old house
med lg full |
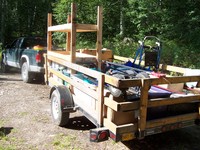
The second load, at our old house
med lg full |
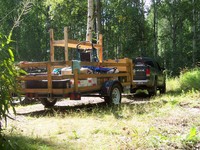
The second load, at our old house
med lg full |
This page and all the pages that display images at various sizes was built
using a pair of Python scripts I wrote. I started with a directory of full
size images and used the ImageMagick convert command to build a series
of images in different sizes. Something like:
$ mkdir processed
$ for i in `ls *.jpg`; do convert -resize 200x200 $i processed/${i%%.*}_thumb.jpg; done
$ for i in `ls *.jpg`; do convert -resize 800x800 $i processed/${i%%.*}_med.jpg; done
$ for i in `ls *.jpg`; do convert -resize 1200x1200 $i processed/${i%%.*}_lg.jpg; done
Then I copied all the full size images into the processed directory:
$ cp *.jpg processed/.
I wrote a description file (descrip) that contains a list of all
the image numbers (the part of the image filename before the _thumb or
_med, etc.), whether the images were vertical or horizontal, and a
description of the photo. Here are a few lines of descrip:
100_2455   h   Driving down Miller Hill
100_2549   v   Storage shed next to the red cabin
100_2550   h   Storage shed next to the red cabin
100_2545   v   Gate into southern dog yard area, covered dog shed in the back
They’re in the order I want them displayed on the pages.
Then I run make_table.py to generate the main
page (the one you're on now):
$ cat descrip | ./make_table.py > index.html
Finally, run make_individual_html.py:
$ cat descrip | make_individual_html.py
to make all the individual pages for all the images in each size. There's
also a CSS file named plain.css that I used to
tweak the formatting a bit.
The great thing about this approach (writing short programs to build the
HTML) is that it's really easy to change it later on do look differently, or
organize the files in another way. Another approach would be to use PHP to
parse the descrip file and build the pages dynamically. Or use a
graphical tool to do it (Adobe PhotoShop, Bridge, Dreamweaver, etc.), but as
you can guess, I like the hands-on approach.